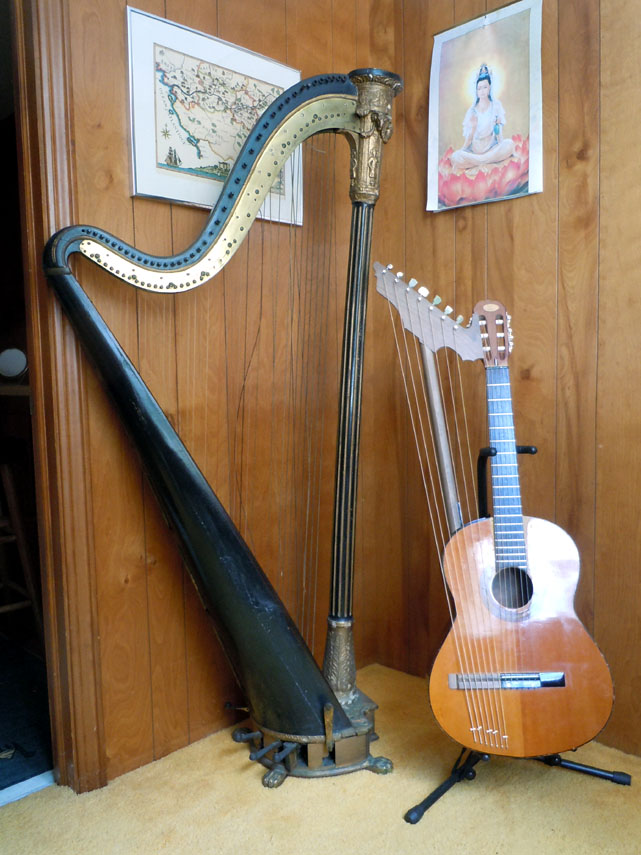
Well, perhaps “builds” is a bit of an overstatement (Its chances of winning “most beautiful new instrument” at the next Harp Guitar Gathering seem rather slim, though the lighted side dots may give it an edge…) – but, hey, whatever works!
NEW 2022 UPDATE BELOW.
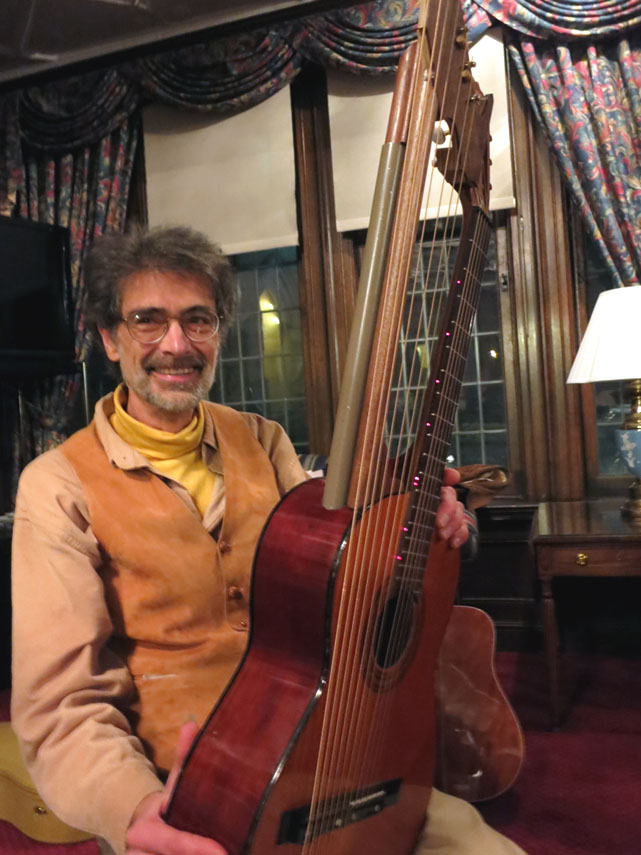
I have a guest blogger today – fingerstyle wiz Kinloch Nelson (KIN-law), who some of you know has shown up at the last two Harp Guitar Gatherings now, but sans harp guitar. Every time I ran across him, he was deep in concentration with yet another harp guitar he was trying out. I know he’s borrowed a couple while he searches for his dream instrument (or maker). But those loans were only temporary and he apparently still can’t decide. Meanwhile, he’s still dying for an instrument! So here’s his (temporary) solution, in his own words:
“Here is a fun and affordable way to enter the harp guitar world. Try building one!
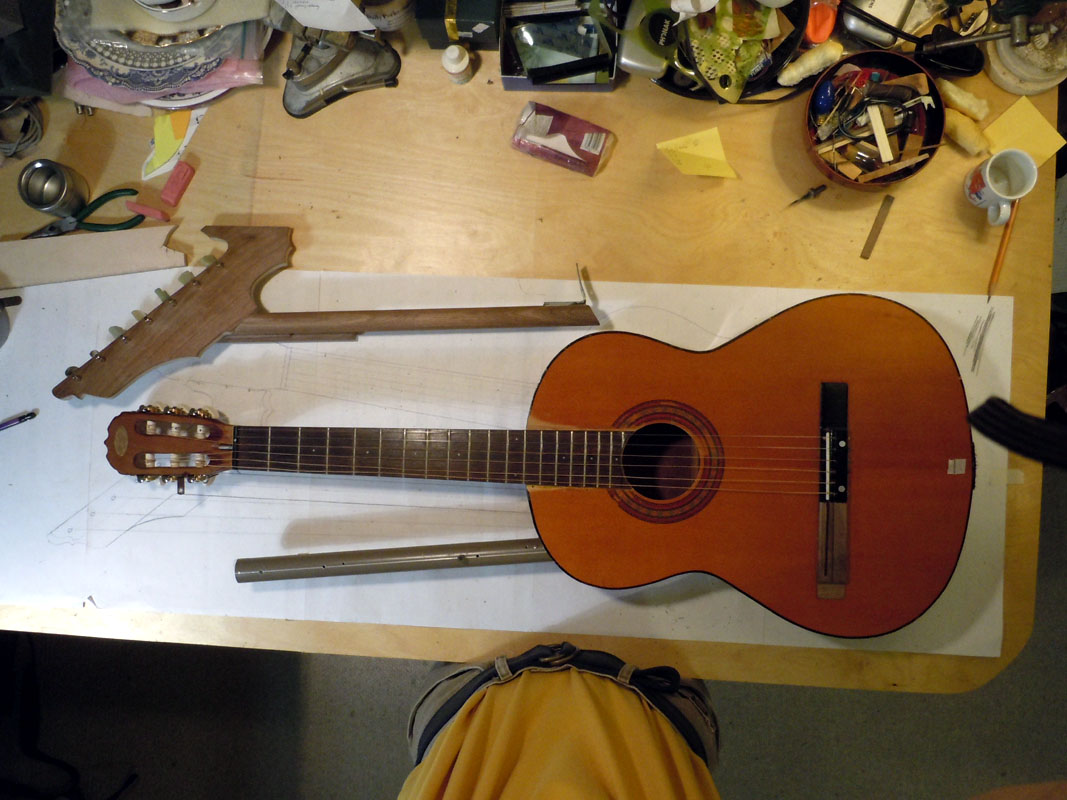
“This instrument was a project guitar from the start. It was a junk classical with its top peeling off when I found it. A friend of mine had a set of X-braces lying around, so we finished peeling off the top & replaced the classical bracing with the X braces so I could put steel strings on it. Then I put a truss rod in the neck, and then lights in the fingerboard for fun. I narrowed the neck a bit fooling around with neck shapes etc. Played it for a while and then it sat for 3 years.
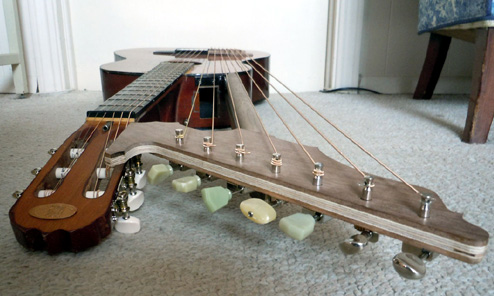
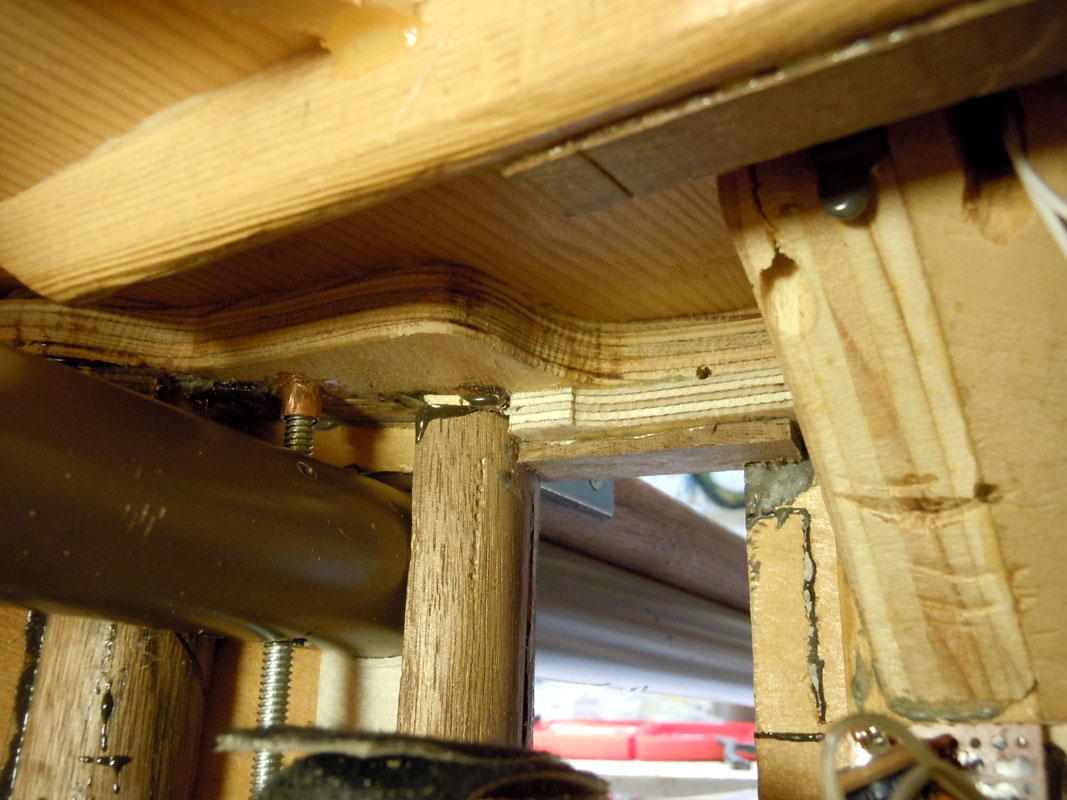
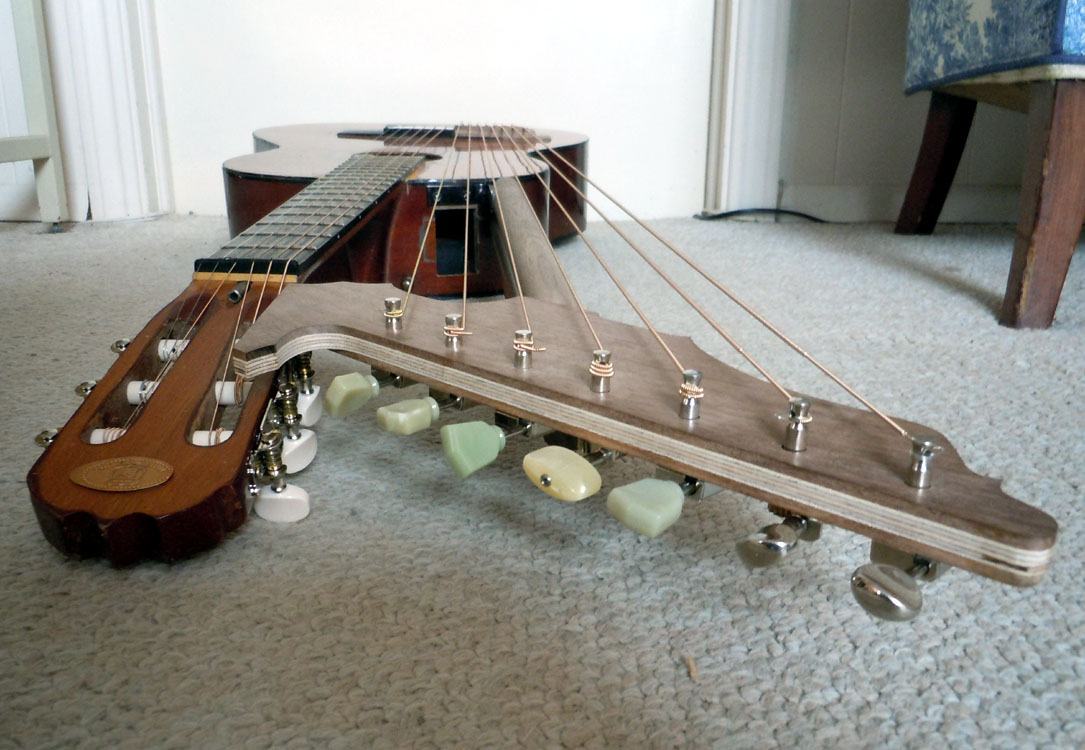
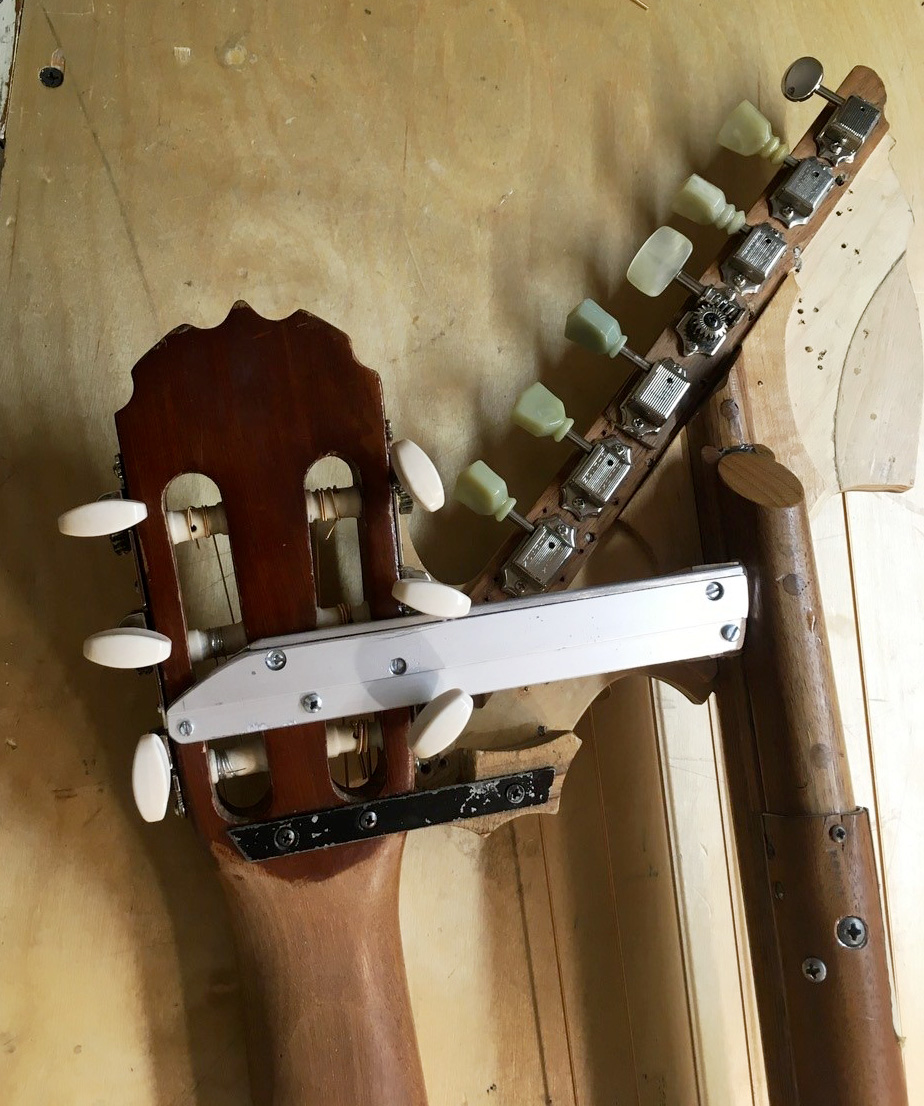
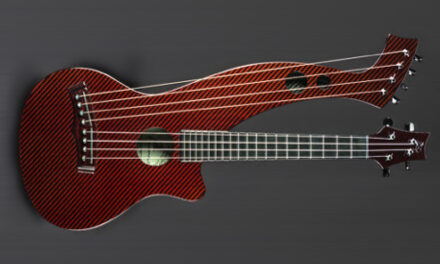
“So the object was to convert it to a harp guitar without taking the guitar apart. It’s a sloppy job, lots of steel filler epoxy, but no matter…full steam ahead. (I do wish I had thought to use birch plywood everywhere.) Most of the stress is carried on the aluminum tube & walnut dowel strut between the headstock & a second end block. String posts (coat-hanger wire) are in the new end block which doesn’t touch the soundboard – there’s a 13/32” space there. Recycled tuners. The headstock is birch plywood & walnut. The strut rides up & down on a bolt, and the whole thing is stabilized with an angle bracket at the body, while a couple little angle brackets link the headstocks.
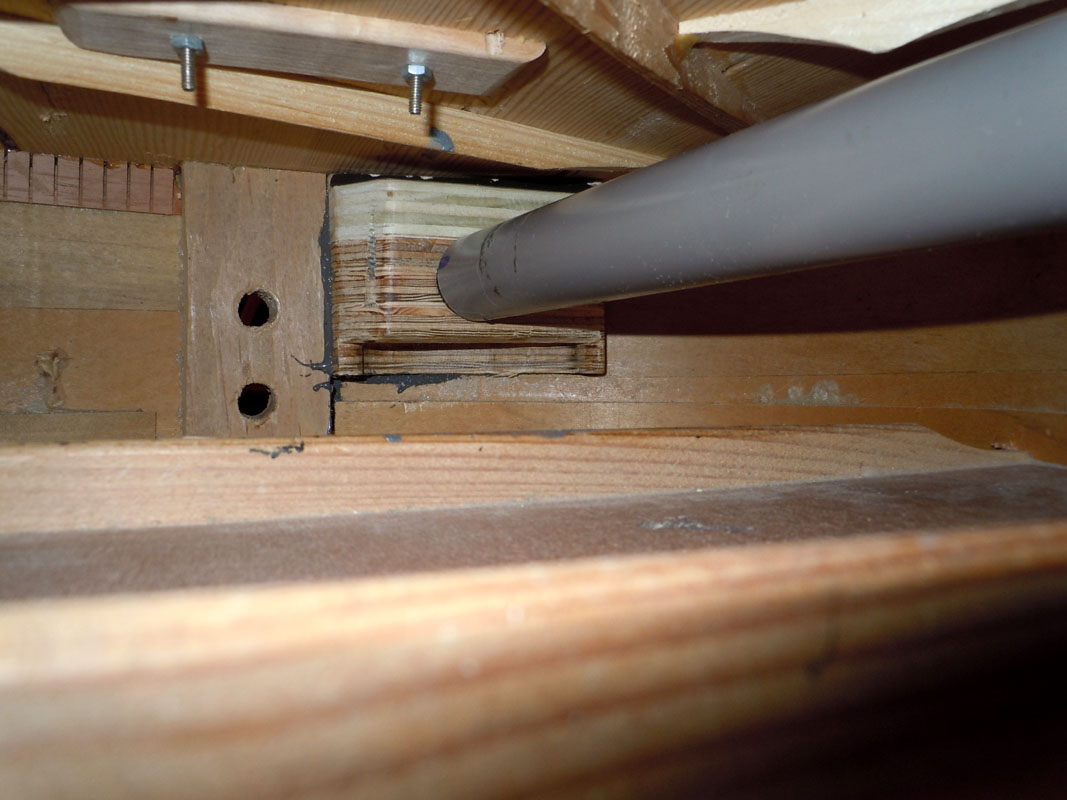
“There probably is some torque-warping of the top, and there is certainly some down-bearing stress on the soundboard. But I’ve been measuring it & it has moved very little. Maybe these forces are balancing themselves out. Time will tell.

“The harp system adds mass, thus soaking up some sound energy. But what gets lost is made up for by the harmonics and sustain of the harp strings. Way cool! In the meantime the guitar plays well and is fun to learn on. It doesn’t sound great but it doesn’t sound bad either. Lots to discover here and new worlds to conquer!”
– Kinloch Nelson
May 2022 Update from Kinloch:
For those of you who might like an update………
From the start this born-again harp guitar suffered from a marked difference of tone and volume between the two necks. So much so that at one point I almost abandoned the project. To be fair the guitar was a junker to start with. It’s chief problem was it lacked punch. Ii always suspected the neck block was the culprit. it was a soft spongy wood, probably poplar. The bass neck was made of an aluminum tube and a walnut dowel bolted together to a walnut & plywood tuner head. This neck had good sustain, but had a lot of lateral twist in it. If you changed the tuning of one string it affected the others too much.
Over the years I made the following changes. Each one improved things. Now the guitar is pretty well balanced and sounds quite good over all. So here is what I did.
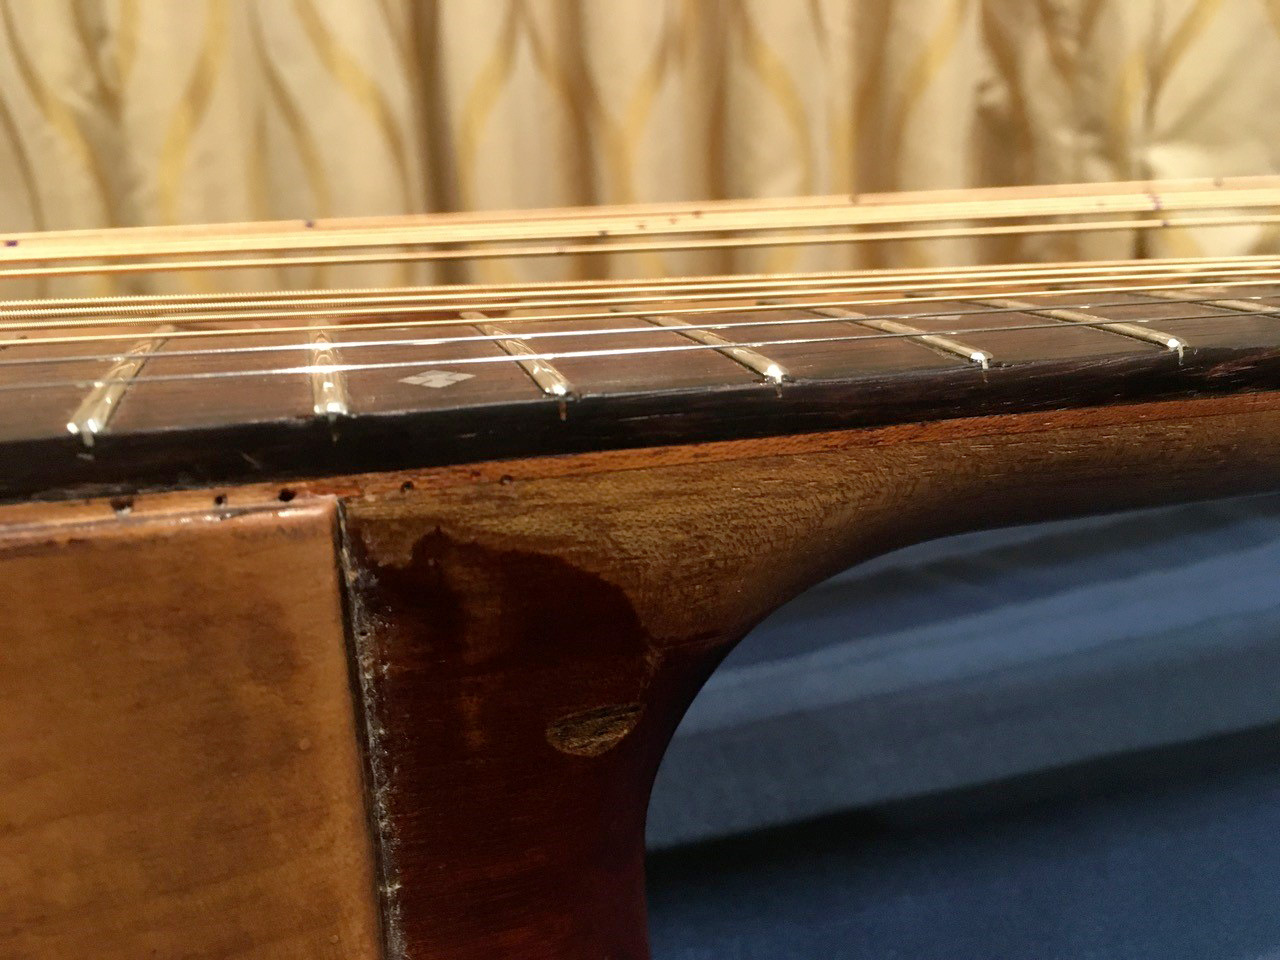
The first real improvement was the addition of the cutaway. The curved wood is solid and adds some mass. Sustain & clarity improved. I also added a reinforcement to the neck block. I also soaked the end block with high viscosity superglue. This hardened things and the highs improved.
Over time the top warped. This had the effect of tightening the top, like tuning up a drum head. It got louder, quicker responding and more highs emerged. Wow, I didn’t know that could happen. I guess it’s like a domed top but with a reverse dome.
I tightened up the connection between the aluminum tube and the dowel. More screws. That helped sustain and tuning. Then I added sharping levers – musically helpful but also this eliminated the need for tuning (except the lowest sub bass string).
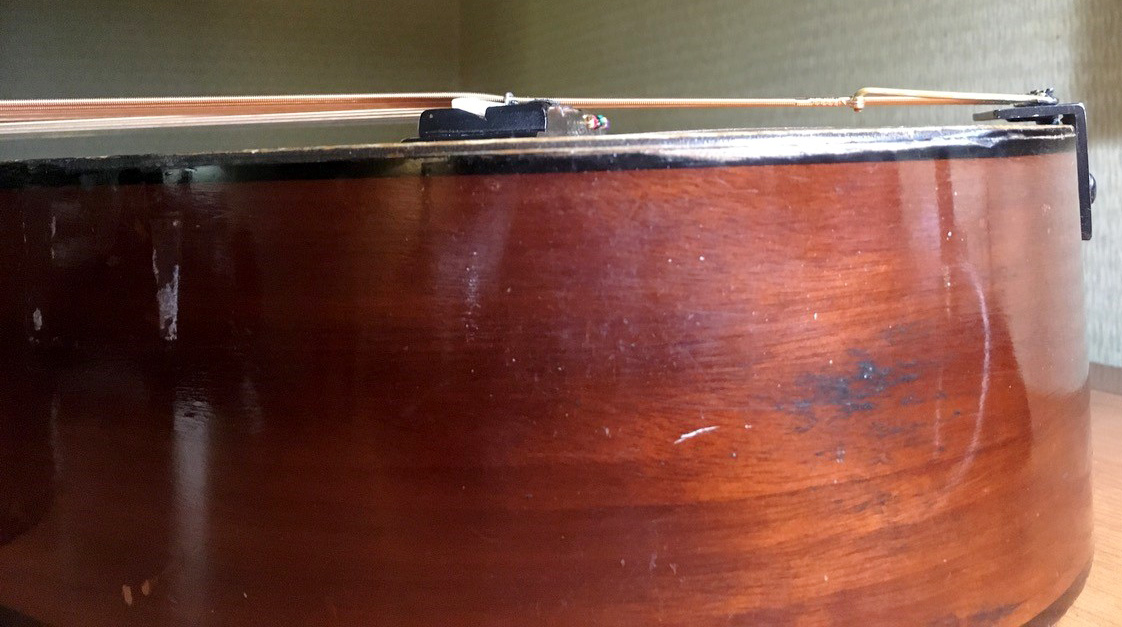
Then I built a string tree for the subs which allowed me to reduce the down bearing pressure on the bass saddle. This freed up the top and made a huge difference in response and touch.
And finally I added an aluminum brace between the two tuning heads. This gave the bass head lateral stability (it stays in tune now) and added sustain to the regular neck. It added weight, but that drawback was worth the gain in stability and improved tone of both necks. I also tried different string gauges. Despite the traditional X-bracing the guitar likes lighter strings. Gauges run .051 .040 .030 .023 .016 .013 on the regular neck. The subs run .078 .072 .062 .055 .052 .052 .049. Overall this feels pretty uniform. I might go one number lighter next time around on the subs to see if freeing up the top a little more will make a difference. It’s amazing how all these little tweaks added up to a major overall improvement.
So there we are. Cheers – KN
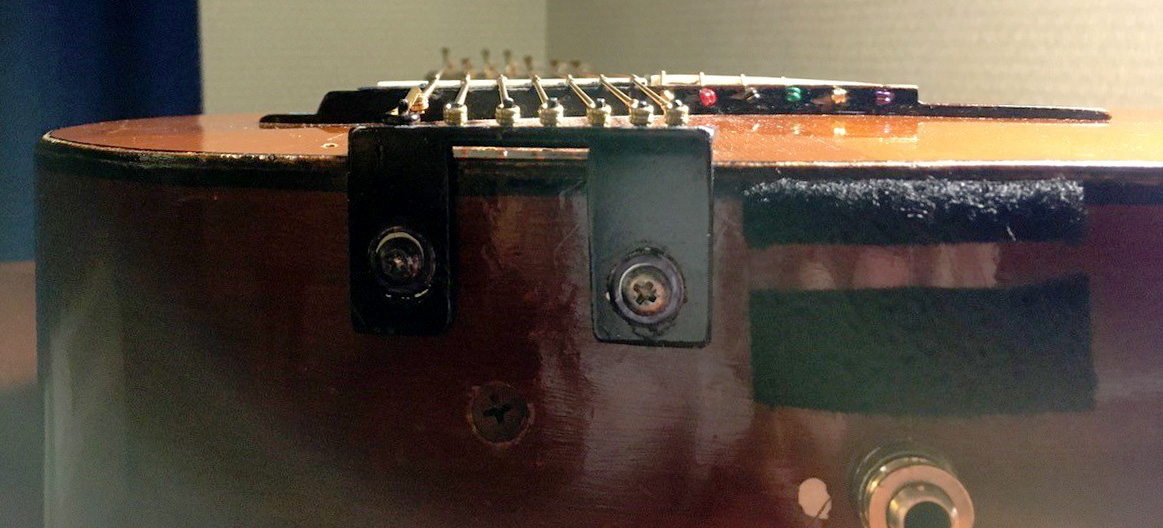
Above and below: the new string tree
Below: Holes I drilled to squirt in superglue. I took a chance. It brightened up the highs on the upper frets. Go figure…
Above and below: Crude but oh so effective.

Kinloch just did a quick, no-frills recording of the instrument at a friend’s studio – check it out: https://www.harpguitars.net/images/blog/Bouree-nelson.mp3
He says:
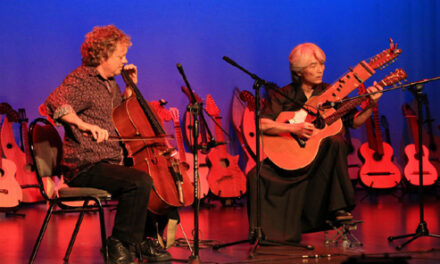
“I was doing some work at a recording studio the other day and brought along the harp guitar to show my buddy at the studio (GFI Recording Studio in Rochester NY), figuring he would get a kick out of it. After the wows and laughs he suggested we record it! So we did. Here’s what we got in the short time we had to record the new ax. He used two Neuman mics set at about 3 feet away. We also blended in a bit of the Fishman internal mic just for immediacy & some mids. There is a tiny bit of compression but no eq. I said I would send you a recording sometime and here it is!
Cheers, Kinloch”
Congratulations on your ingenuity. I especially like the bass headstock shaped like Argentina. I think it will even fit in one of Gregg’s Harp Guitar bags. VERY UNIQUE and coolish.
Michael